🚲 Bike: Decathlon Riverside hybrid
🔧 Upgrade: Shimano CUES FC-U4000 crankset + Hollowtech II BB
📍 Part 2 of the Riverside upgrade series
In Part 1 I swapped the heavy Zoom suspension fork for a TOSEEK carbon rigid. That shaved over a kilogram off the front end and transformed the steering. Naturally, once you fix one thing, the next weak link becomes impossible to ignore — and on the Riverside that was the drivetrain.
🔍 Why the Crankset Had to Go#
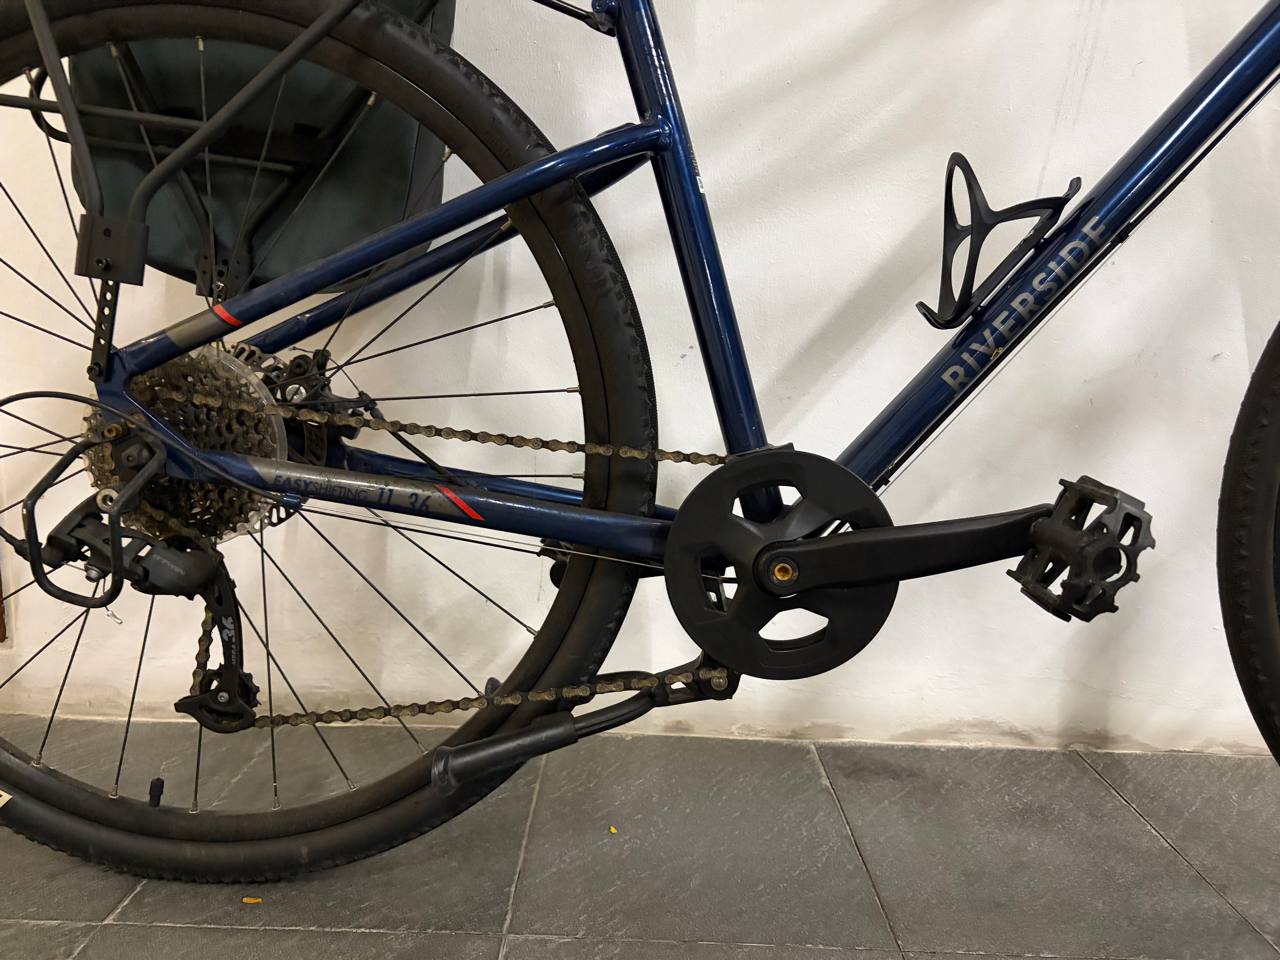
The stock B’Twin crankset is a square-taper unit with a riveted plastic chain guard and a stamped steel chainring. It works, but the interface is loose after a few thousand kilometers, the chainring wears unevenly, and the whole assembly feels like it belongs on a department-store bike. The square-taper bottom bracket cartridge was also overdue — the bearings had developed a gritty feel that no amount of grease would fix.
Symptoms that forced the swap:
- Creaking under load, especially climbing
- Visible play in the crank arms
- Chainring teeth worn into shark fins
- Bottom bracket bearings grinding on rotation
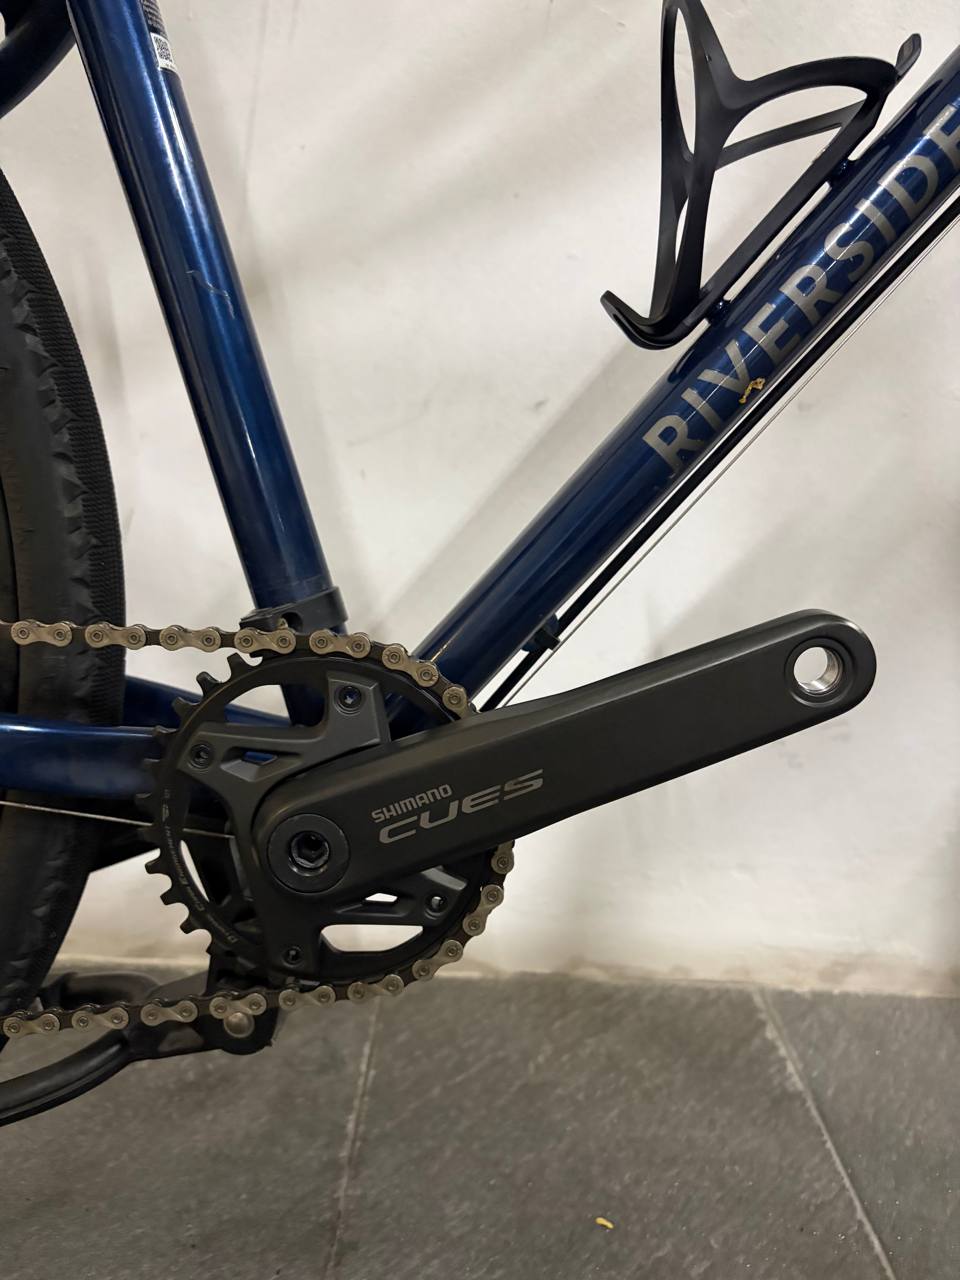
🆕 The Upgrade: Shimano CUES#
Shimano’s CUES line is their answer to the “good enough for commuters, actually engineered properly” segment. I went with the FC-U4000 crankset and a matching Hollowtech II bottom bracket:
| Spec | Stock B’Twin | Shimano CUES |
|---|---|---|
| Interface | Square taper | Hollowtech II |
| Chainring | Stamped steel, riveted | 32T, Dynamic Chain Engagement+ |
| Bottom bracket | Cartridge, sealed | External bearing cups |
| Chain guard | Plastic bolt-on | None needed (narrow-wide ring) |
| Feel | Vague, creaky | Solid, silent |
The narrow-wide chainring profile means no chain guard and no dropped chains. One less thing hanging off the bike.
🔩 Teardown#
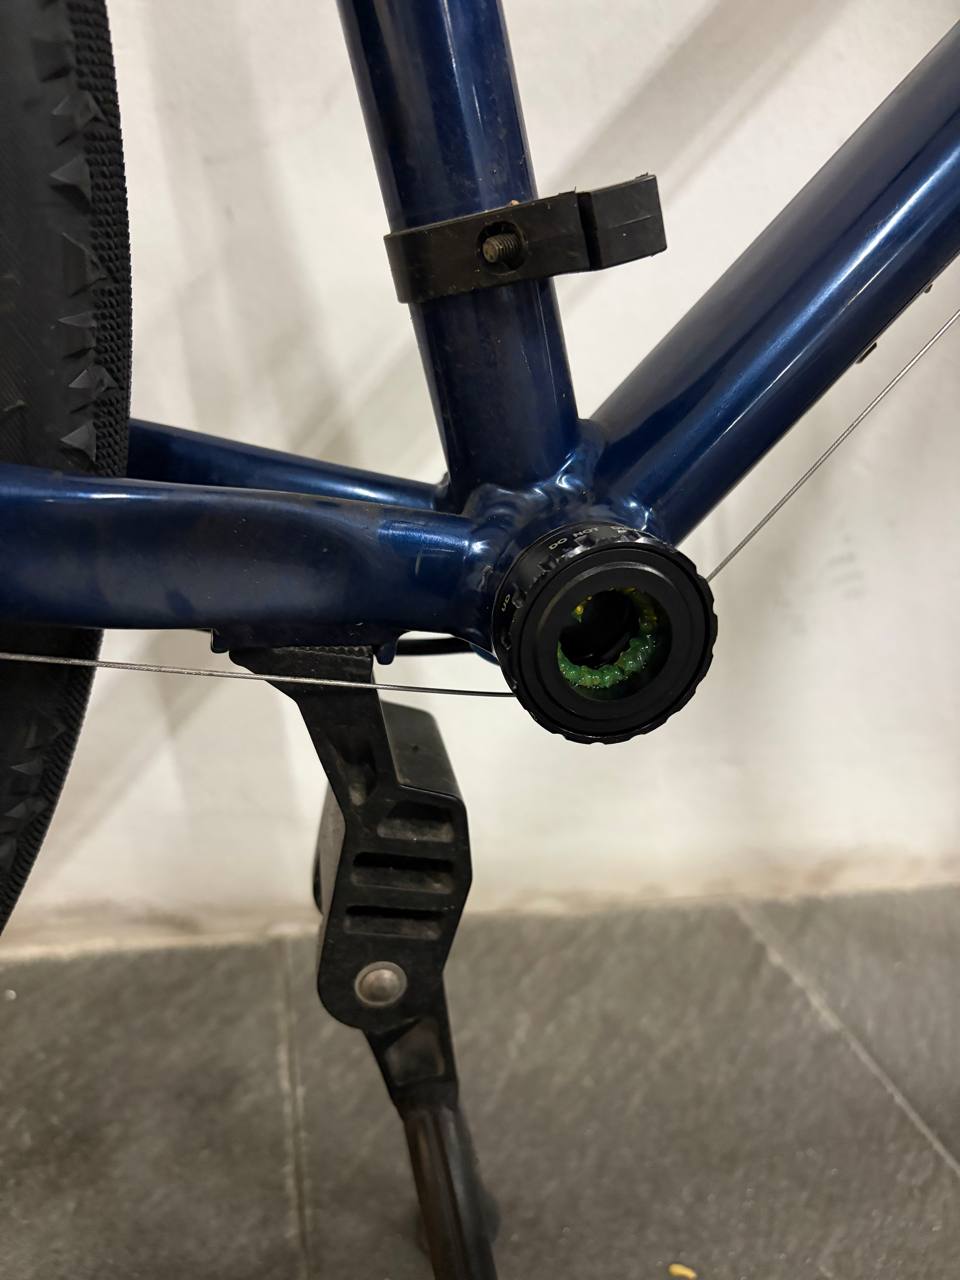
First step — strip the old drivetrain down to the bare bottom bracket shell.

Note: Before pulling the old cartridge, mark which side is drive and non-drive. The cups thread in opposite directions — left is standard, right is reverse. Cross-threading a BB shell is expensive to fix.
🛠️ Install#
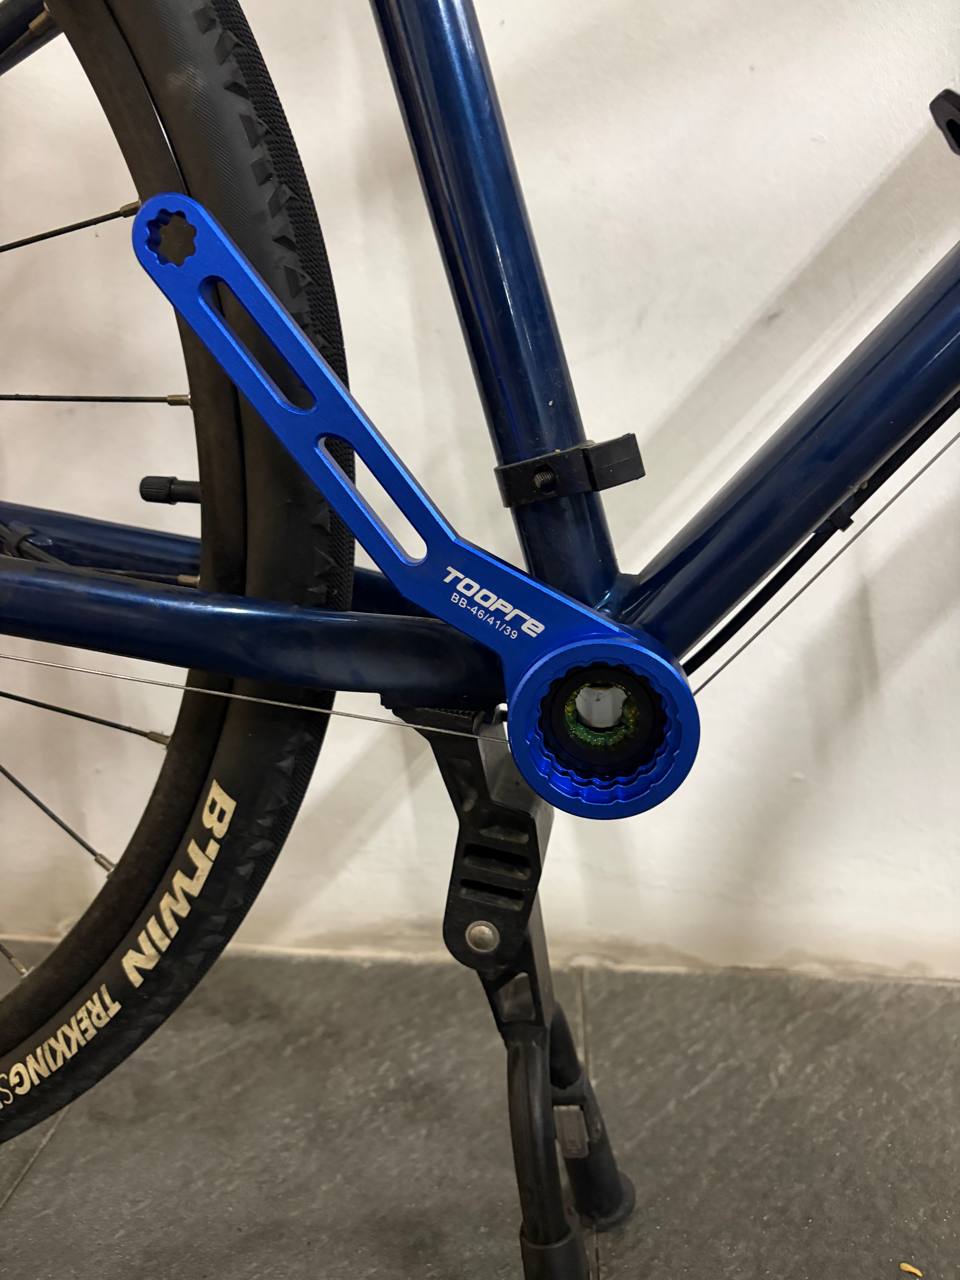
The Hollowtech II bottom bracket is a press-and-thread affair — grease the threads, thread the cups by hand, then torque with a BB tool.
Step 1: Bottom bracket cups#
Step 2: Crankset#
Once the bottom bracket is seated, the crankset slides through and the non-drive arm pinch-bolts lock everything in place:
Tip: Grease the pedal threads before installing. Aluminum crank arms and steel pedal spindles will seize if you skip this.
Torque specs#
| Fastener | Torque |
|---|---|
| BB cups | 35–50 Nm |
| Crank arm pinch bolts | 12–14 Nm |
| Pedals | 35 Nm |
| Chainring bolts | 12–14 Nm |
✅ Result#

The difference is immediate. Pedaling feels direct — no flex, no creak, no play in the bottom bracket. The narrow-wide chainring grabs the chain with confidence, and the Hollowtech II spindle is noticeably stiffer than the old square taper. Combined with the rigid fork from Part 1, the Riverside now rides like a bike that costs twice what I paid for it.
What changed:
- ✅ Zero creak under load
- ✅ No chain drops — narrow-wide ring holds firm
- ✅ Stiffer pedaling platform
- ✅ Cleaner look without the plastic chain guard
💰 Gear#
| Part | Link | Price |
|---|---|---|
| Shimano CUES FC-U4000 crankset | Shimano | ~65 SGD |
| Shimano Hollowtech II BB | included with crankset | — |
| TOOPRE BB wrench (BB-46/41/39) | Shopee | ~12 SGD |
| Crank puller (square taper) | already owned | — |
🔮 What’s Next#
The drivetrain and fork are sorted. Next on the list: the rear derailleur and shifter. The stock B’Twin units still work, but they are the last pieces that feel out of place on a bike that is rapidly outgrowing its price tag.